Your Learning Builder

Build a Learning Plan

Create a guided roadmap for learners to complete, comprised of activities, tasks, and even badges. Learners can easily see their progress and owners have robust reporting available. Learning plans can be thought of as an entire learning unit.

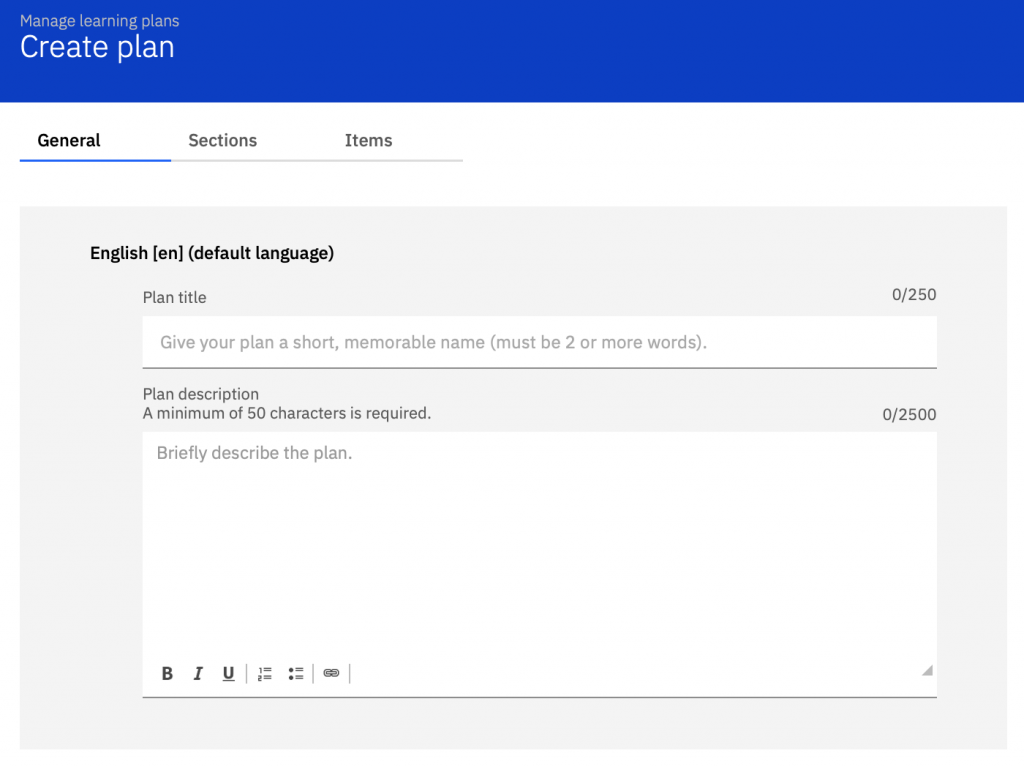
How to Create Your Learning Plan

1. Start by scrolling down to Learning Plans and select Create a plan. Once inside this section, click on the blue button that says Create a plan.
 
 
2. Under the General tab, give your plan a title and a brief description. Select the language and duration. Duration can be hours, days, weeks,
or months.
 
3. Select an icon for your plan from those provided, use an icon url of your choosing, or upload an icon from your computer. Be sure to take note of copyright laws if you decide to provide an icon yourself.
 
 
4. To allow learners to see how they are progressing through the plan, check the box to display a progress map. Other features include allowing you to add other editors and decide if you want the learning plan to be searchable to those outside of your organization.
 
 
5. Click “Save as draft” at the bottom and move on to the next step so you don’t lose your progress. 
 
 
6. Click on the Sections tab. Give the section a title. As you do so, the words will populate in the box above. You may use the section description to provide more information.


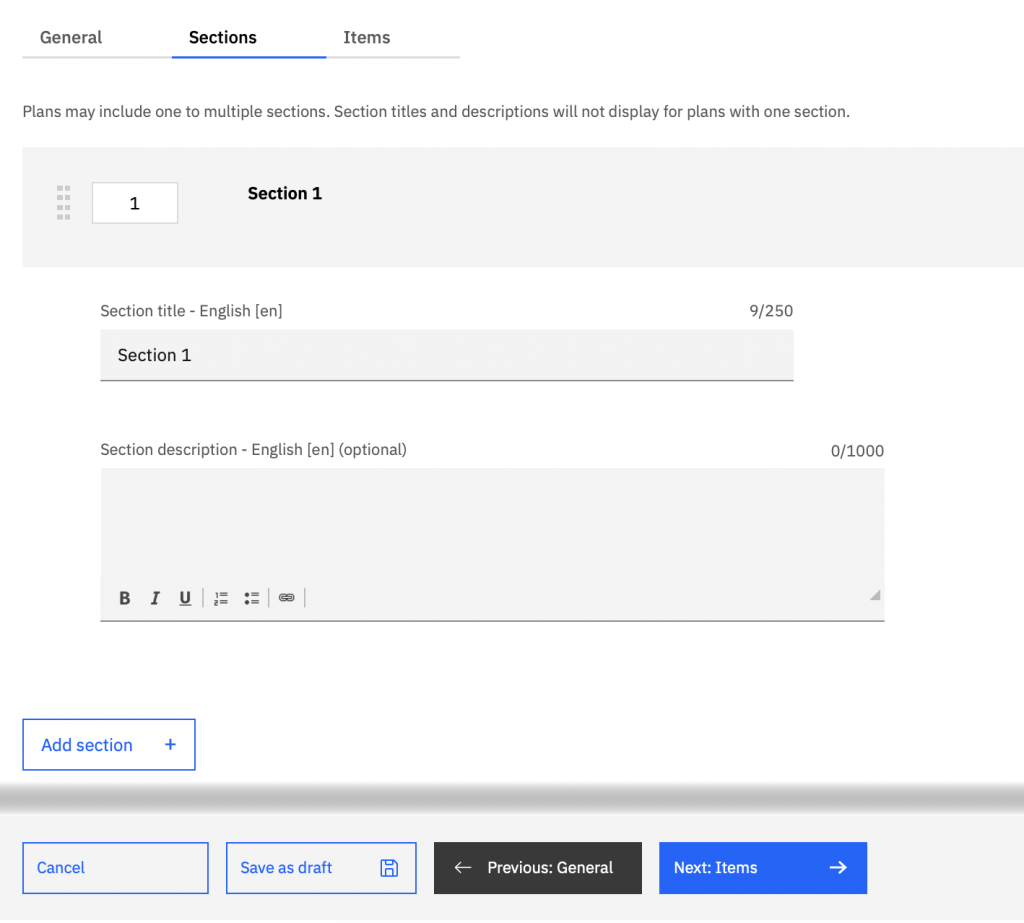
7. To add more sections, click the white button with blue print that says “Add section.” Repeat for however many sections you desire.


8. Scroll back to the bottom and either click on the Next button near “Save as draft” or select the Items tab.  The items are the actual activities or tasks learners will have to complete.


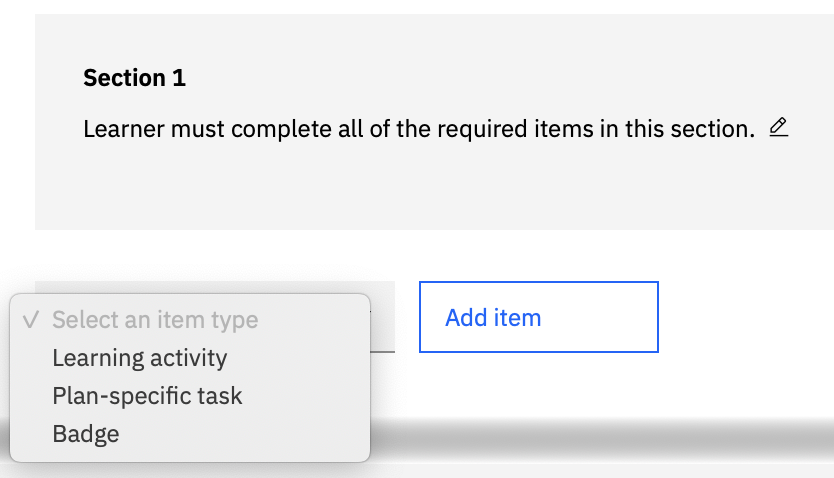
9. Select an item type: learning activity, plan-specific task, or badge; then, click Add item. Once you do so, a search box will open where you can look for the specific item(s) you want to embed. You can also choose the tab marked your completions if you want learners to complete something you’ve already done. Click on the Add item button next to the activity and then click the Done button. Repeat this step for as many sections and items as you’d like.


10. It’s a good idea to click the Save as draft button as you’re working. Once you’re finished and you’ve saved your work, go back to the learning plan’s front page. Click on the three dots at the end of your learning plan, and press preview. This will show you what the plan looks like in case you want to edit it some more before publication.
 
11. Once satisfied, re-enter the learning plan by clicking on it, click on items, and then click the blue button that says “Publish.” 
 
*Keep in mind that your learning plan is not searchable. To share your learning plan with your students you will need to give them the url or assign the learning plan to them (directions below).

Assign Learning Plan

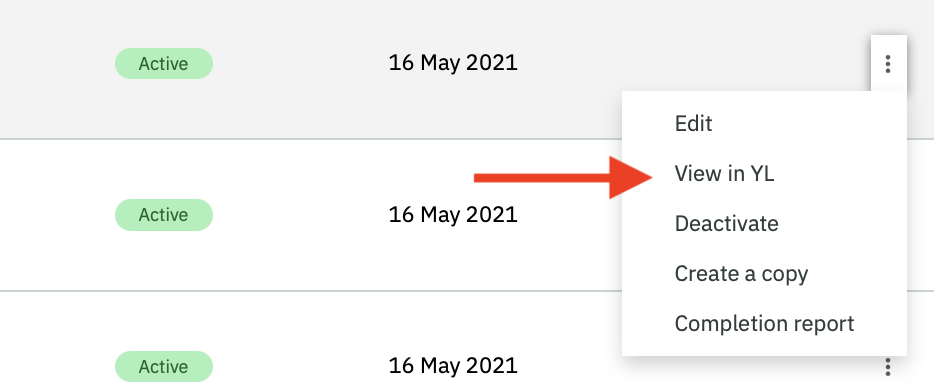
1.To assign your learning plan to students, click on the 3 dots to the right of the learning plan. 


2. Now, click on “View in YL.”


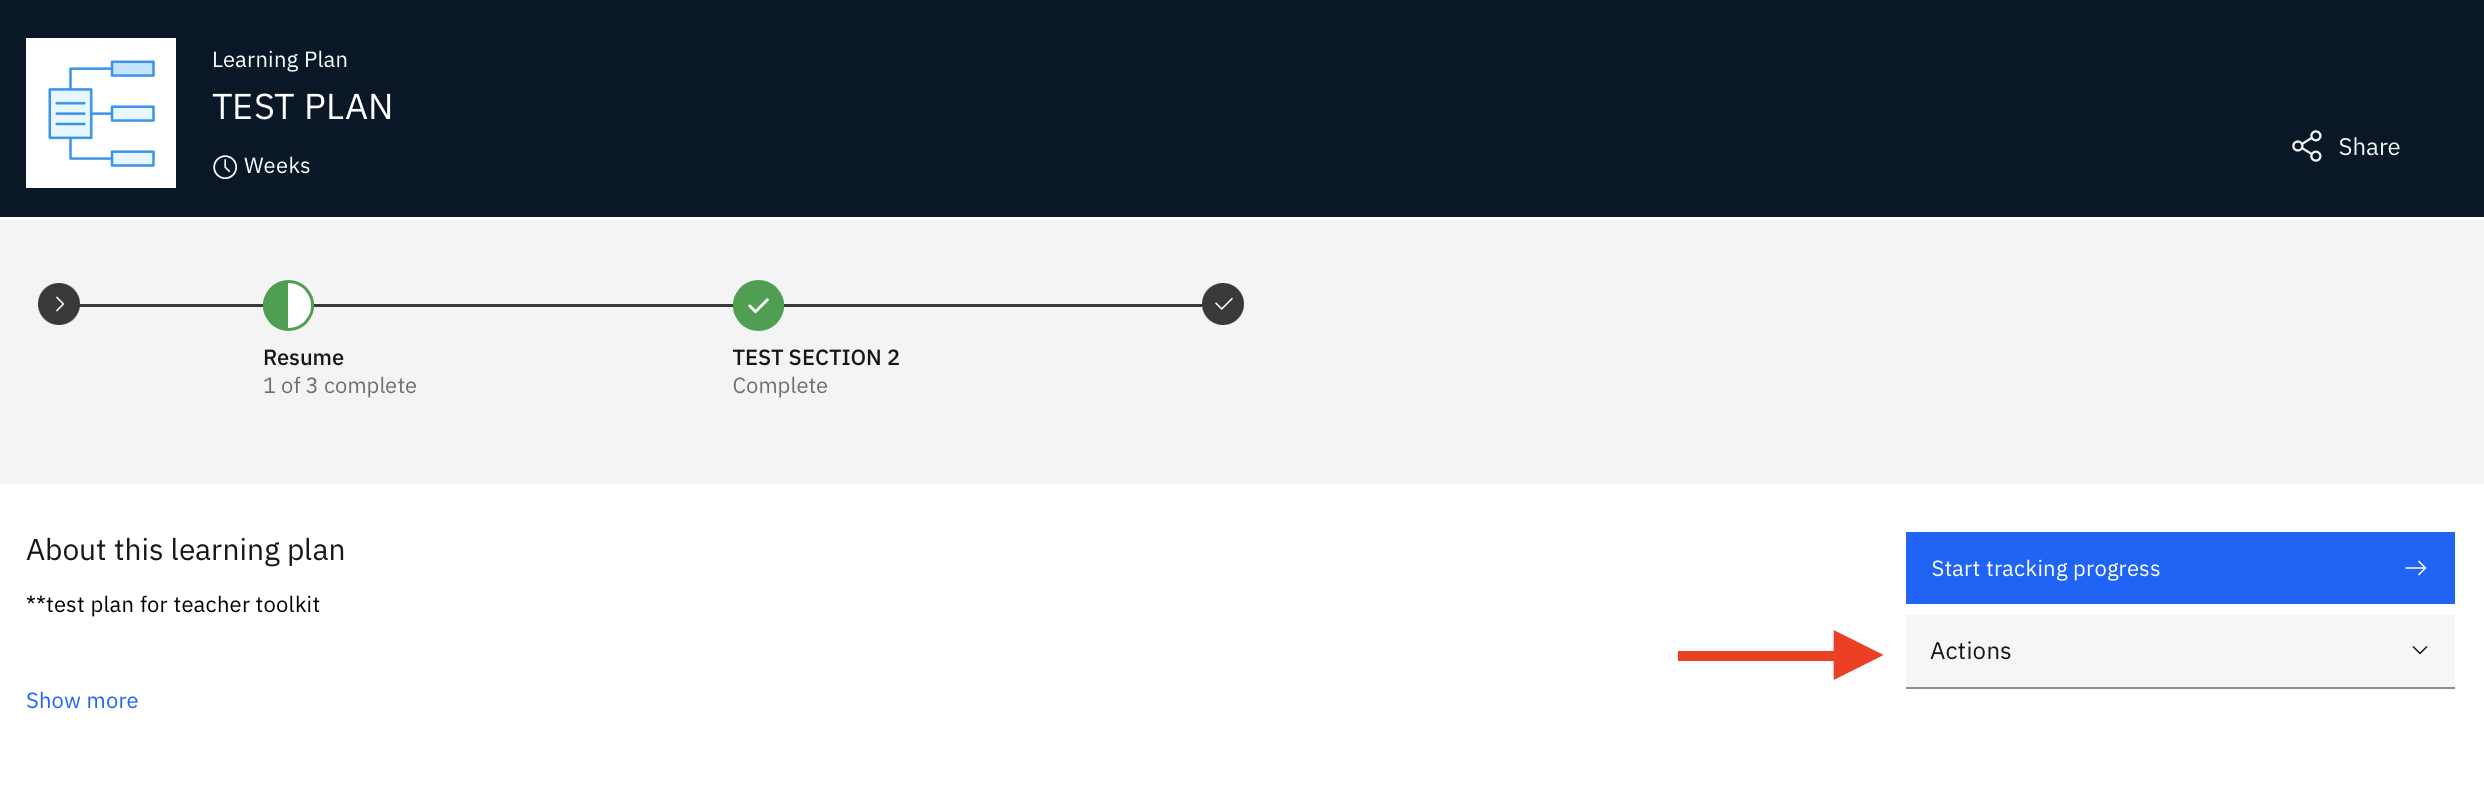
3. This will take you to your learning plan in Your Learning. Next click on “Actions.”


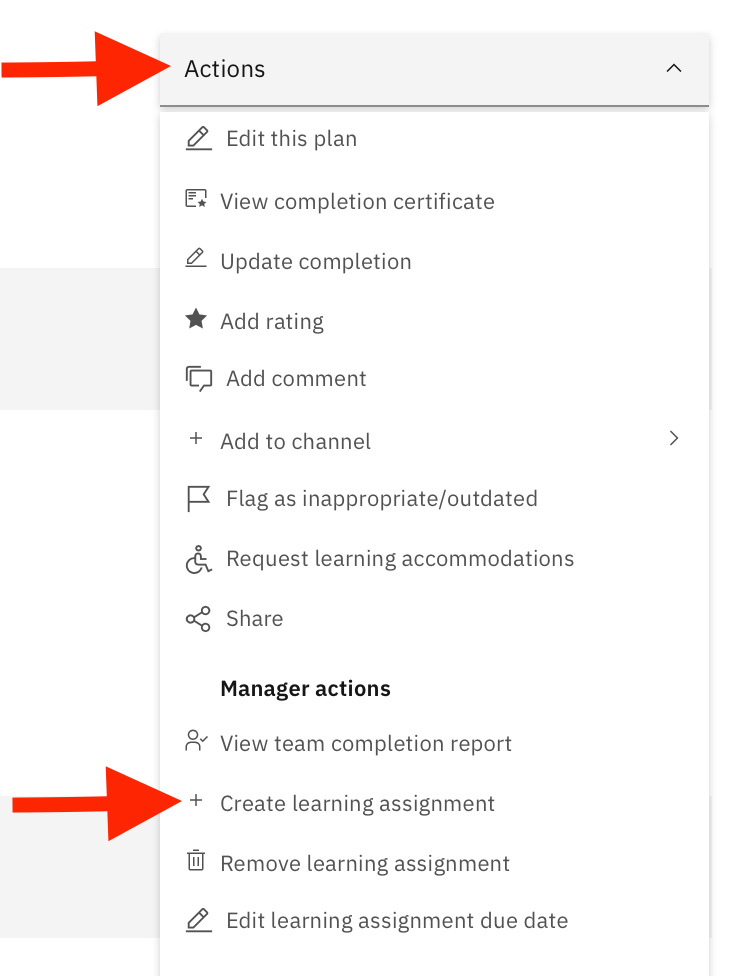
4. Scroll down to “+ Create learning assignment ” under “Manager Actions.”


From here you will see your Team (students), and can choose who to assign this learning plan to.